Climbing Half Dome Guide
Climbing Half Dome Guide
Yosemite Valley
Half Dome, Mariposa County, CA, United States
Overview
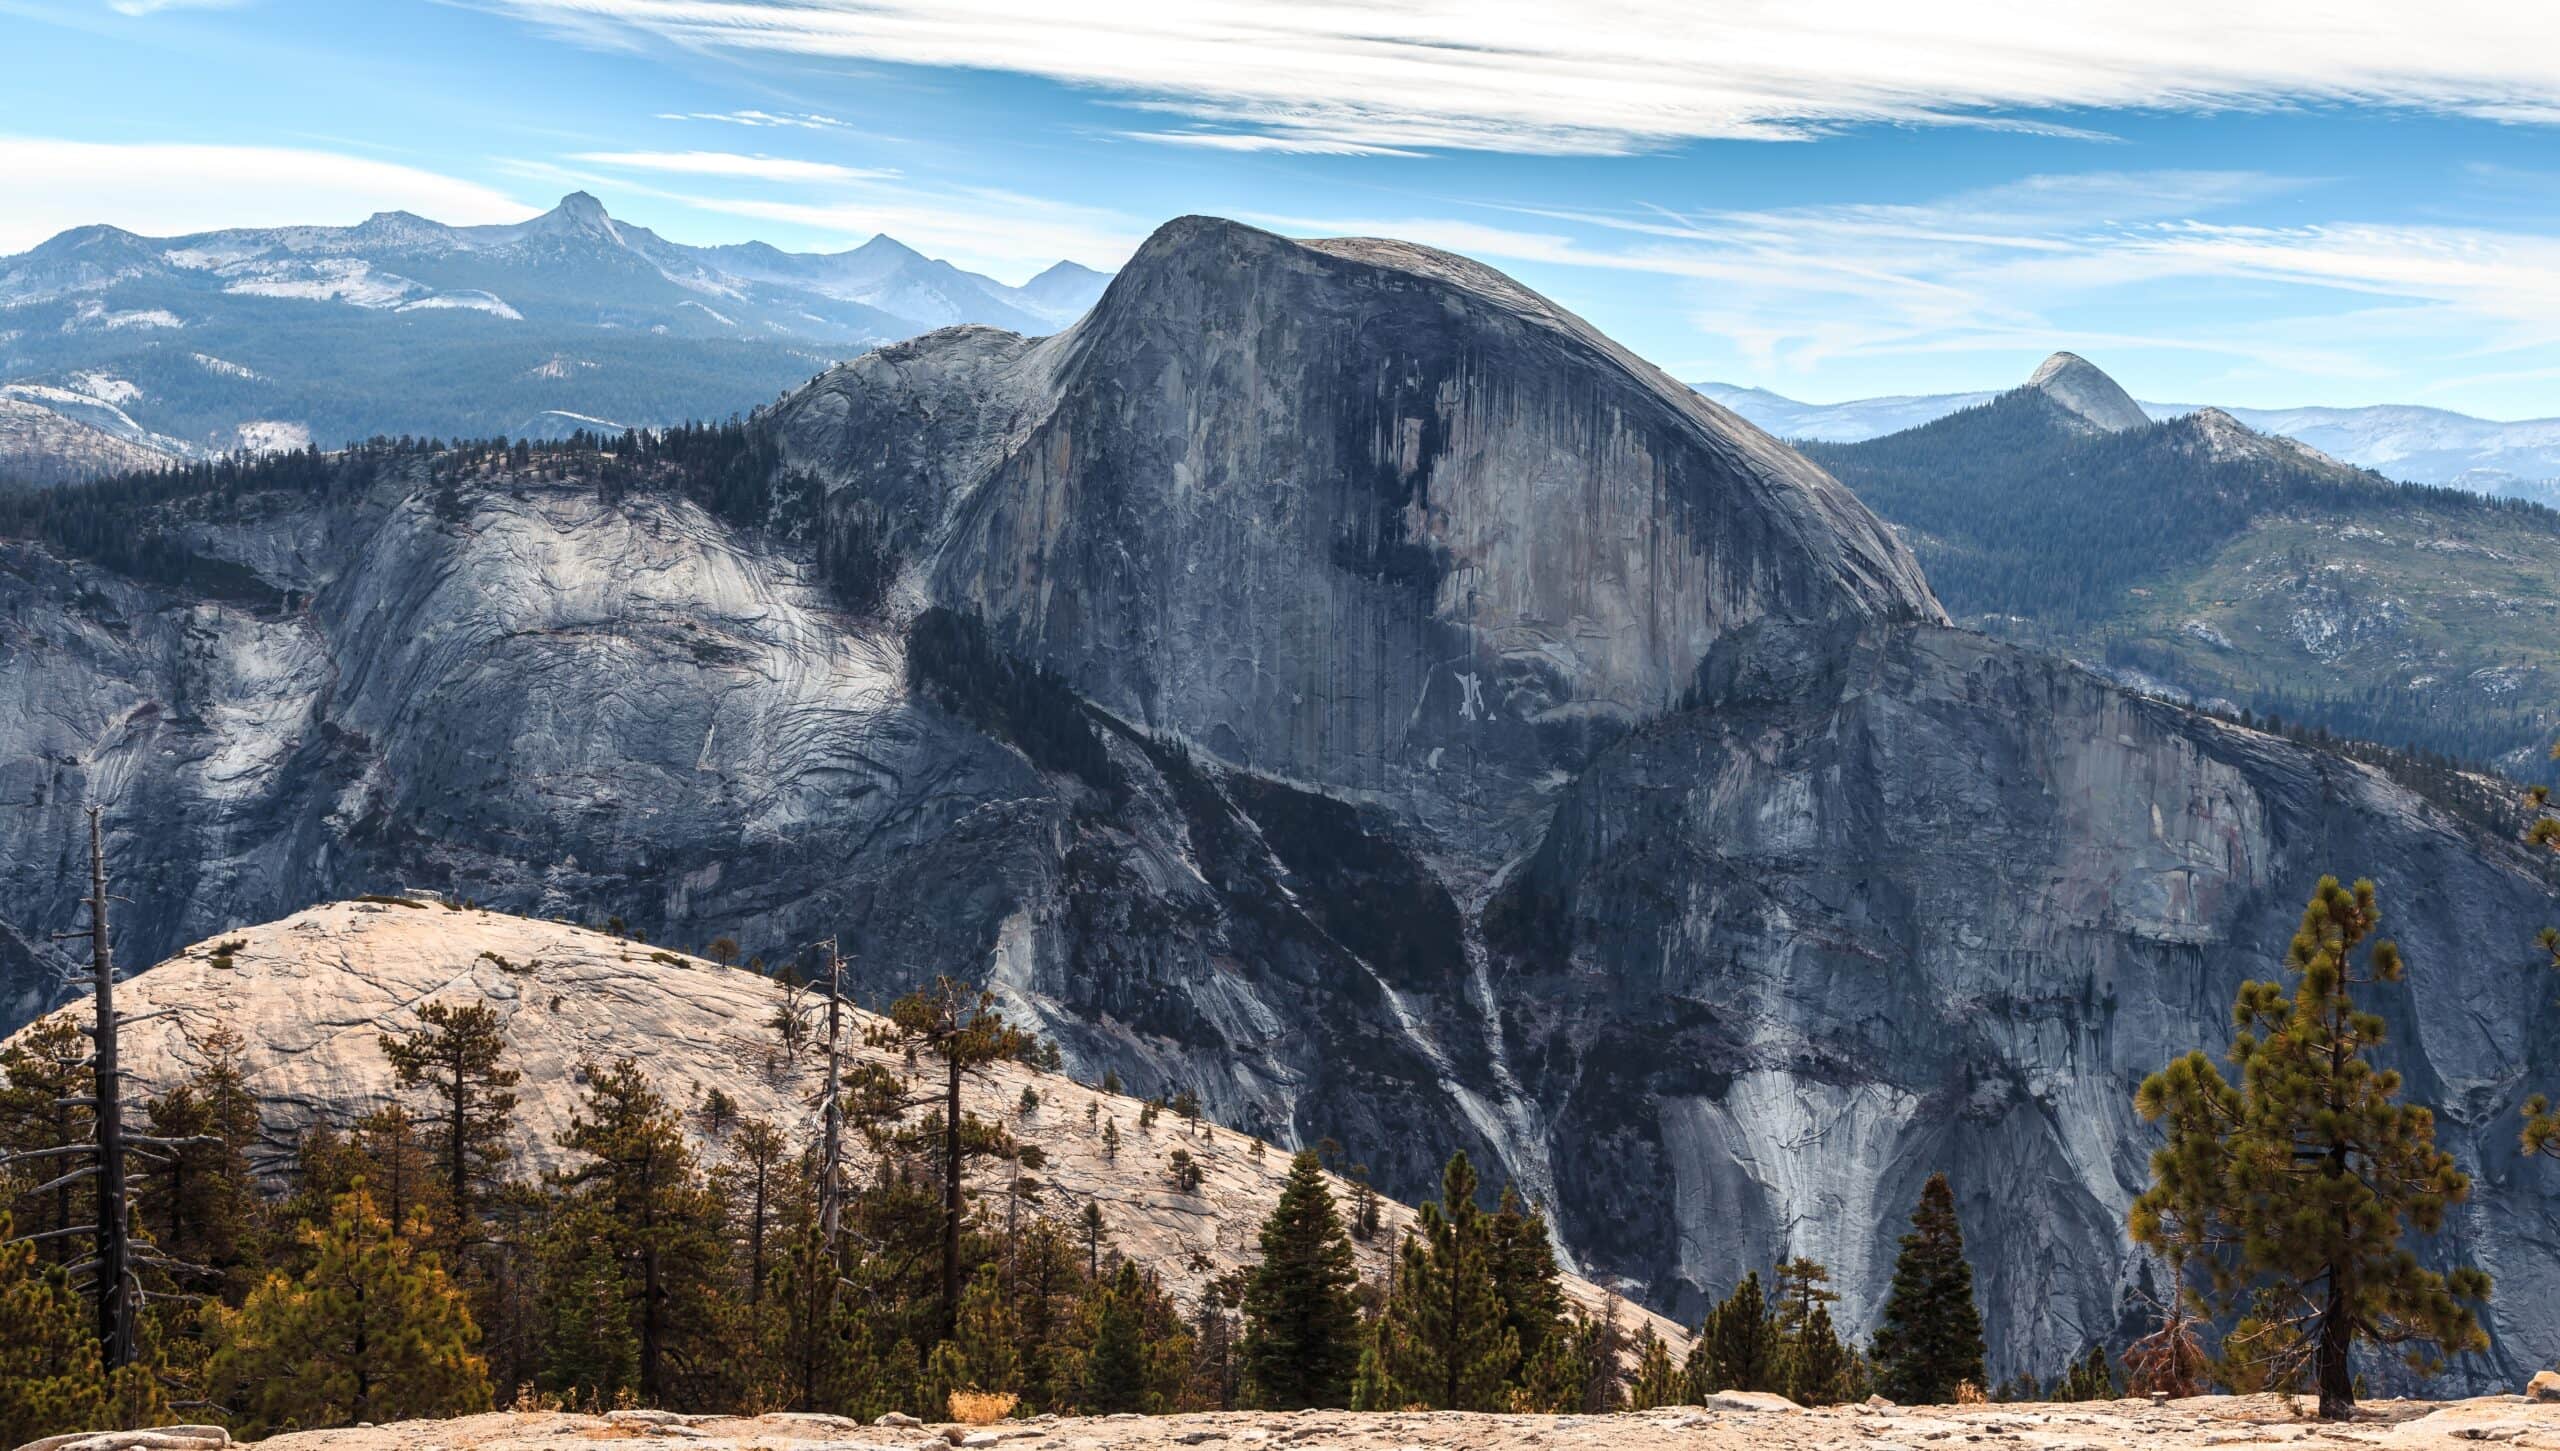
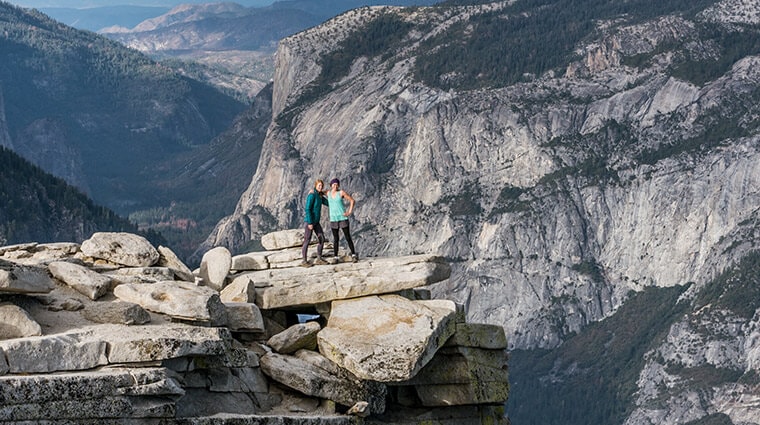
The most well-known rock formation in Yosemite National Park (perhaps even the United States), Half Dome is one of the most sought after climbs for hikers and rock climbers alike. Half Dome rises 4,737 feet above Yosemite Valley at an elevation of 8,844 feet above sea level. We’ve got some tips for how to get there via our Half Dome Hike page. Before heading out, make sure to familiarize yourself with the lay of the land with our Yosemite Maps.
For Hikers
Hikers Begin at: Happy Isles via the Mist Trail
At 14 to 16 miles roundtrip and an elevation gain of 4,800 feet, climbing Half Dome via the cables is neither for the faint of heart nor the beginner hiker. Here are some tips for those who are ready for the arduous ascent.
Footwear: What’s worse than acquiring a blister? Enduring a blister for seven to ten hours while sweating bullets up one of America’s toughest hikes. Save yourself from a bad time. Wear proper hiking footwear that’s well broken in and supportive.
Gloves: Not just for style points. Gloves can also assist with comfort while climbing the cables. Just make sure to take them with you on your way down.
Water: The element of life. Also, your best friend while climbing Half Dome. With only one drinking fountain at the Vernal Fall Footbridge, BYOW is required. Below are some guidelines from our friends over at the National Park Service.
1 gallon (4 liters) if hiking to the top of Half Dome
2 quarts (2 liters) if hiking only to the top of Nevada Fall
1 quart (1 liter) if hiking only to the top of Vernal Fall
For Rock Climbers
Climbers typically approach Half Dome from one of two ways:
- Happy Isles via the Mist Trail through Little Valley (about 8-miles to shoulder of Half Dome). This option is best for south-facing climbs.
- Happy Isles past Mirror Lake via the “Death Slabs.” This option is best for northwest-facing climbs, but is an advanced option that requires skilled route finding. The route is also very steep climb and fixed lines are used.
A favorite of some of the most prestigious rock climbers in the world, *cough* Alex Honnold *cough*. Whether you’re a super-human, free-solo machine or an advanced climber looking for a challenge, Half Dome offers multiple routes for varying skill levels with grades that range from 5.7 to 5.13. Before you chalk up, check out a couple tips to send safely and responsibly.
Haul Up/Haul Out: Minimizing erosion, avoiding litter and other basic conservation tactics are required to make sure Half Dome is preserved for generations to come. Here are the basics:
- Don’t litter. Don’t leave fixed ropes on approaches and descents. Haul up/haul out ALL waste…even of the human variety.
- Use all main trails to avoid erosion.
- Need a fire while on the wall? Use an existing fire ring.
- “Improvements” like windbreaks and platforms are prohibited.
- See extra, rotting slings off anchors? Make sure to bring earth-toned slings to replace them.
Climbing Permits: As of May 2021, a Wilderness Climbing Permit IS required if you plan to spend the night on the wall. Also, you can legally camp at the base of the NW face, but you will need a wilderness permit to bivy at the base, even if you’re planning to climb the route in one day. Learn more about Yosemite National Park Wilderness Permits.
Routes: Check out these popular Half Dome climbing routes: Snake Dike, Regular Northwest Face, Southwest Face, Blondike, Autobagn, Two Hoofers and more.
Seasonality: Visit Mountain Project regarding optimal climb months and other useful, community-generated data.
Looking for more pro tips? Visit Yosemite Mountaineering School and Guide Service.
View Half Dome Webcam
Check out Current Road Conditions


